Authenticating Kubiya from the CLI
In order to use the Kubiya CLI you need to authenticate your account. Authentication requires the following:
- Access to your organization authentication method (such as Google, or Okta)
- Your Kubiya Operator Key - Provided by Kubiya at the time of registartion.
- Your Kubiya Organization name - Provided by Kubiya at the time of registration.
Operator Key
Kubiya will provide you with an Operator Key that will be used to setup your authentication. This should be treated the same as any license key and stored in a safe location. You will need the key in the next step.
Authentication
To initiate authentication for Kubiya, run the following command in your terminal:
kubiya auth -t <your_operator_key>
The CLI should return a message as follows:

The portion of message highlighted below in red is a link to provide your Organization Name and connect through your identity provider. Your operating system may allow you to click the link to open it in a browser. If not, copy this link and paste into the address bar of your favorite browser.
If you have several identities in use, it may be best to paste the link into an “incognito” window to remove any cached identities. For example, if you have Google user accounts in different organizations, simply clicking on the link may open a browser window in an organization that is not associated with the expected Slack account/workspace.

Your browser window should look like this:
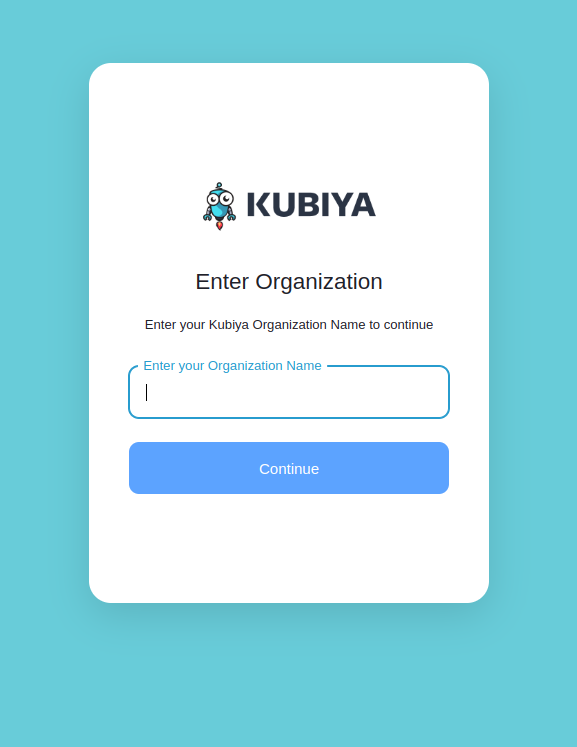
- Enter your organization name and click on the “Continue” button. The organization name is received from Kubiya upon registration.
- Log in with your identity provider
- Upon completion of authentication, your browser should return your identity provider icon with a welcome message and your name. Additionally, the CLI should return a success message like:

Test your authenticated session
To test your authentication return to Slack and click on the Kubiya App Icon
![]()
Send a ‘hello’ message to the Kubiya App. If your authentication was successful, you will recieve the following response from the app:

⏭️ Next: Setting up an integration